

System
Configure the platform name, general settings, logos, and favicon.
Email Layout
Configure the appearance of outgoing emails.
Configure the sender identity and SMTP connection.
Legal
Add your Privacy Policy and Terms & Conditions links.
SMTP must be configured before the platform can send tenant emails, including registration, welcome, and notification emails.
System Core Settings
Go to Settings → System to configure the main platform settings and logos.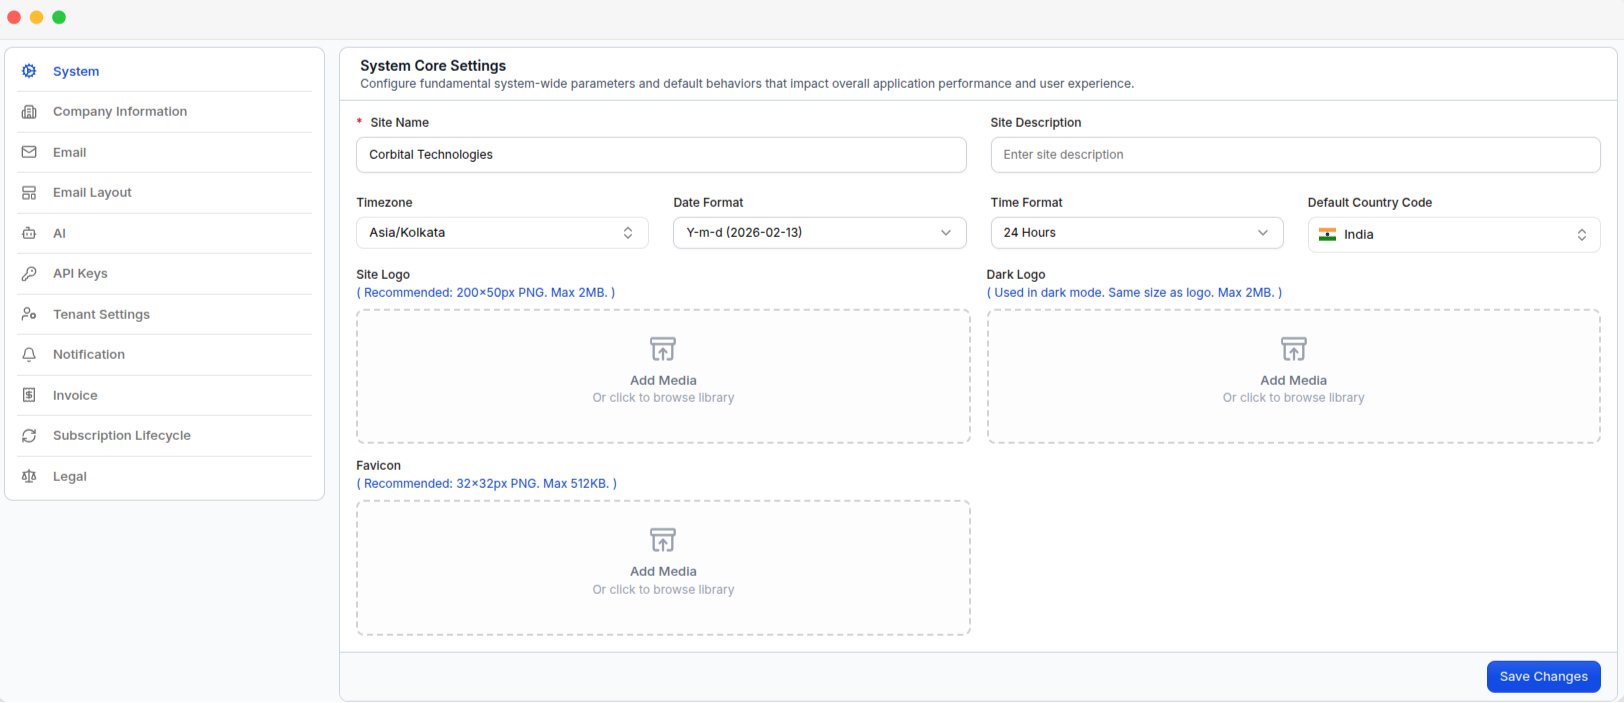
The System Core Settings page, with the site name, locale defaults, and the logo and favicon upload fields
- Platform details
- Logos & favicon
Email Layout
Go to Settings → Email Layout to configure the appearance of outgoing emails.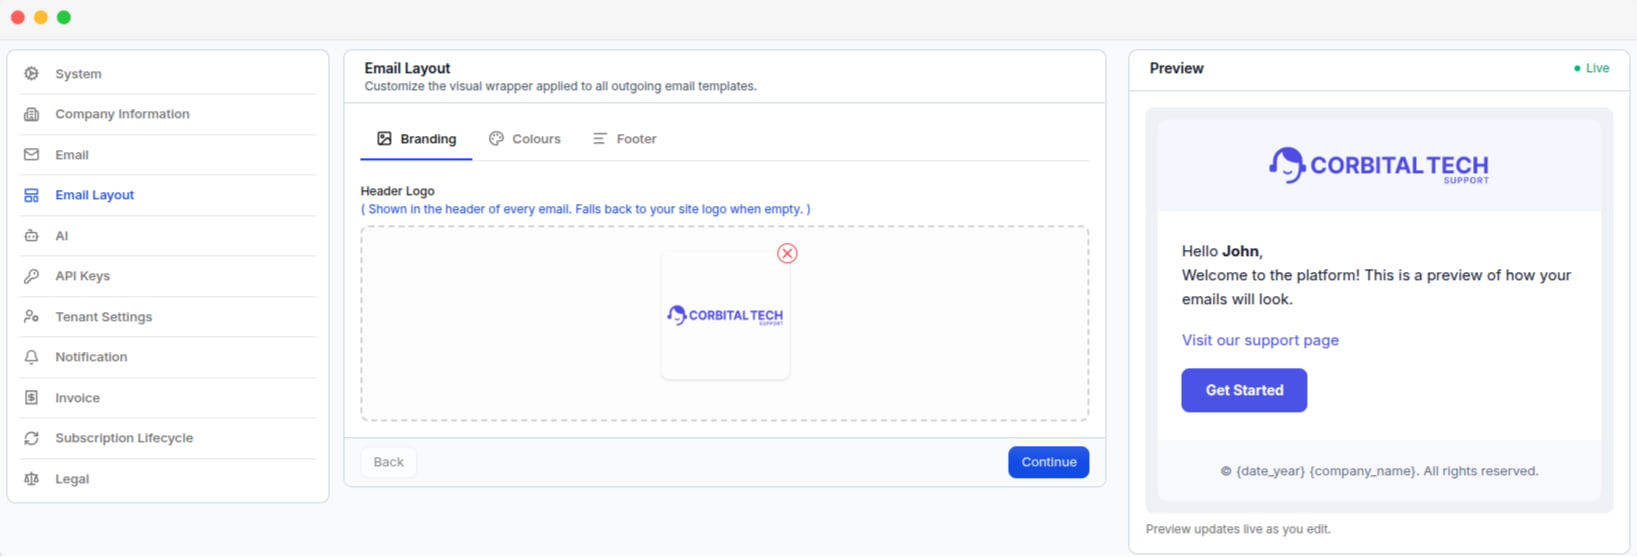
The Email Layout page on its Branding tab, with the live email preview alongside
- Branding
- Colours
Configure the logo shown in the email header. If no header logo is configured, the default Site Name will be used.
Sender Identity (SMTP)
Go to Settings → Email to configure the email settings and enable email sending.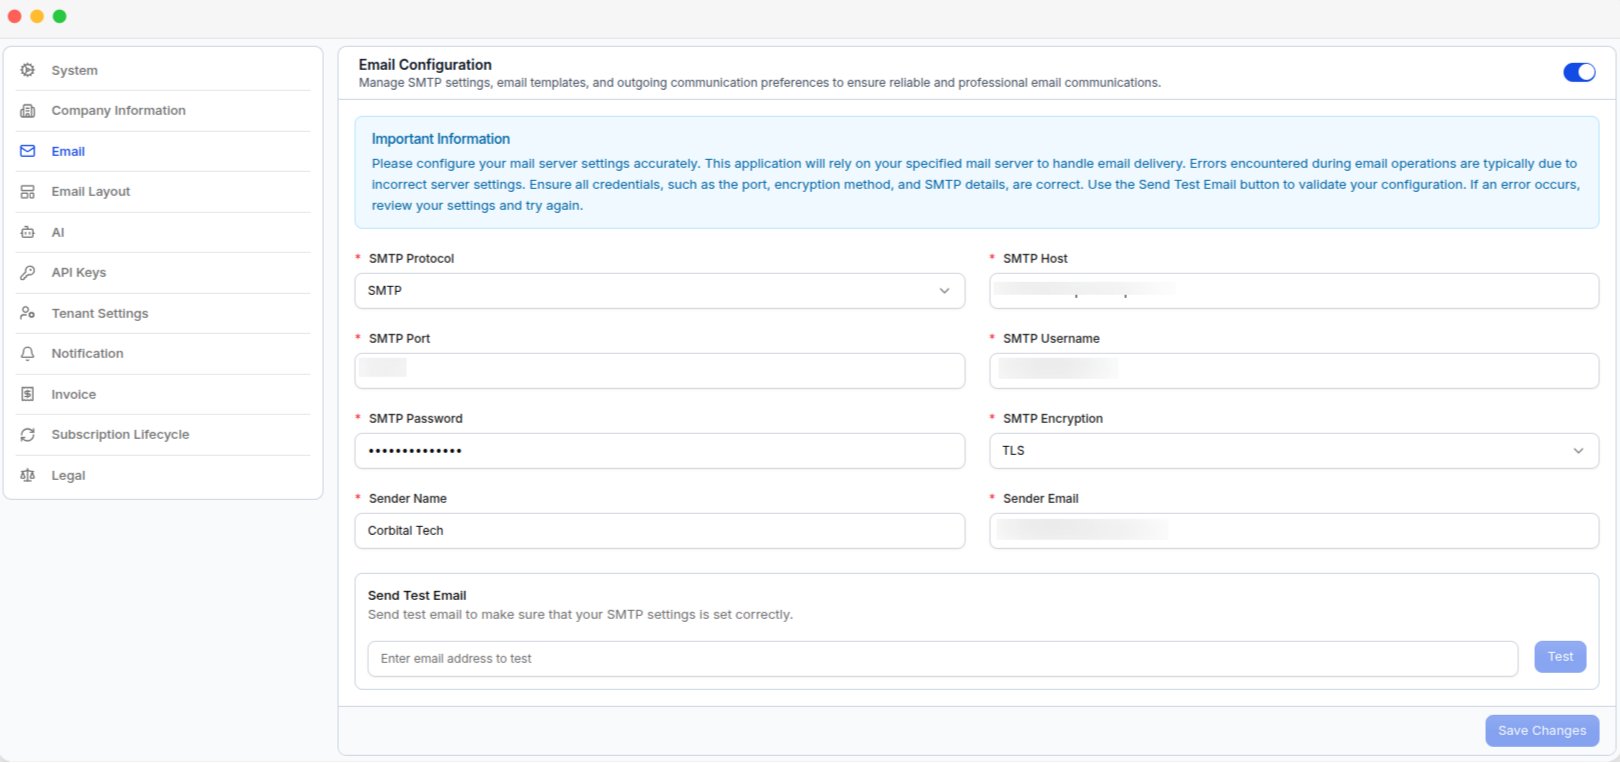
The Email Configuration page, with the SMTP connection fields, sender identity, and the Send Test Email box
1
Enter the SMTP details
Enter the SMTP Host, Port, Username, Password, and Encryption.
2
Set the sender identity
Configure the Sender Name and Sender Email shown to tenants.
3
Send a test email
Click Test to check that the SMTP settings are working.
Legal
Go to Settings → Legal to add the Privacy Policy and Terms & Conditions links shown during tenant registration.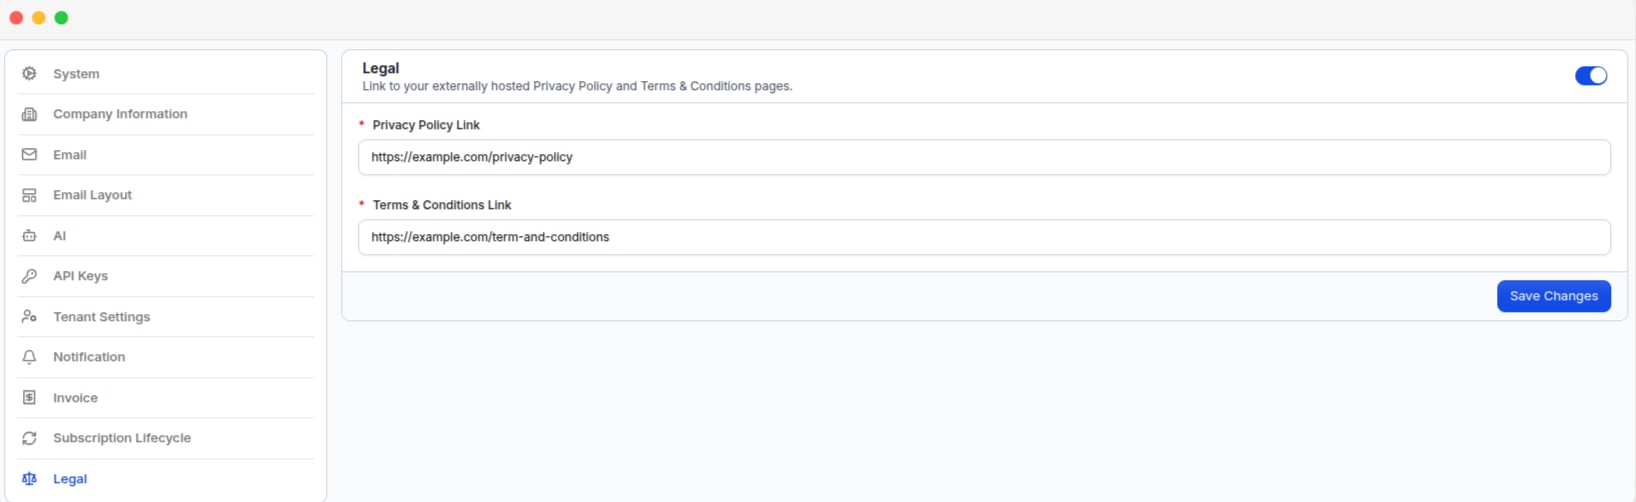
The Legal settings page, with the Privacy Policy and Terms & Conditions link fields
- Privacy Policy Link — Full URL, including
https://. - Terms & Conditions Link — Full URL, including
https://.
Where the links appear
The links are shown on the tenant sign-up page next to the agreement checkbox. The checkbox says “I agree to the Terms of Service and Privacy Policy.”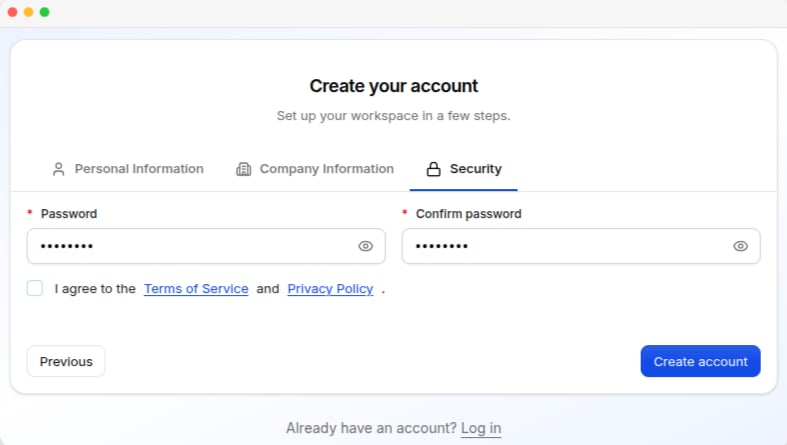
The tenant sign-up page, with Terms of Service and Privacy Policy shown as links beside the agreement checkbox