

Payment Gateway Settings
Payment Gateway Settings lets you choose how your tenants can pay for their plans.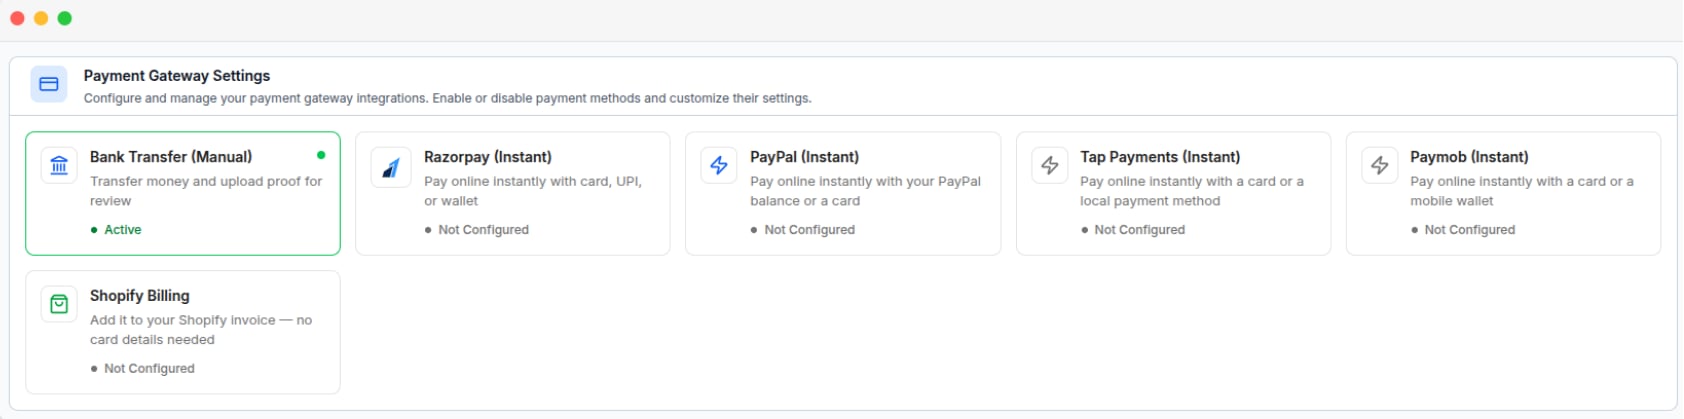
Payment Gateway Settings page showing the available payment methods
Configure a payment gateway
1
Open Payment Gateway Settings
Select the payment gateway you want to use.
2
Enter the credentials
Add the required credentials and configuration details.
3
Enable and save
Enable the payment gateway and save the changes.
4
Test the connection
Use Test Connection, when available, to check the configuration.
Bank Transfer details
Bank Transfer details
Add your payment details such as bank name, account holder name, account number, IFSC, and UPI ID. Tenants can use these details to make a payment and submit their payment proof for approval.
Shopify Billing setup
Shopify Billing setup
Connect your Shopify app under Settings → Integrations → Shopify. No payment gateway credentials are required in this section.
Shopify Billing only becomes available to a tenant once they have connected their own Shopify store. Until then, it does not appear as a payment option at checkout.
Company Information
Company Information contains the business details used on tenant invoices.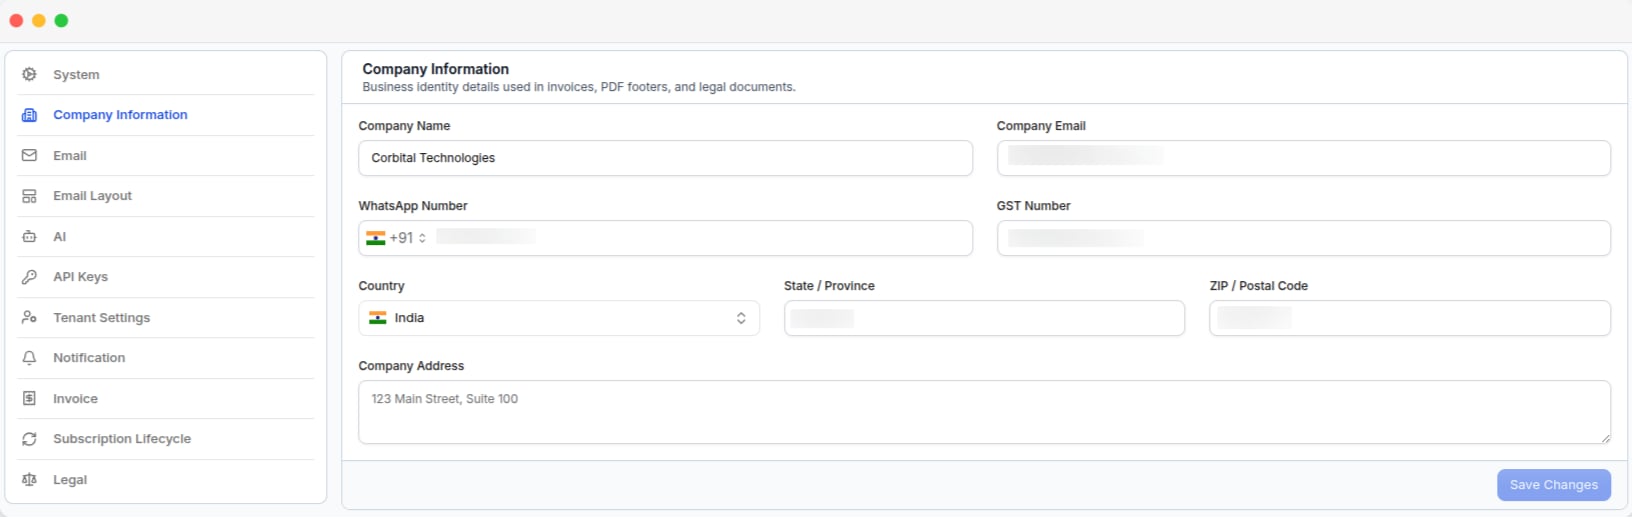
The Company Information settings page, with the business identity fields used on invoices
- Company Name
- Company Email
- WhatsApp Number
- GST Number
- Country
- State / Province
- ZIP / Postal Code
- Company Address
Invoice Settings
Invoice Settings controls the default information used when generating invoices.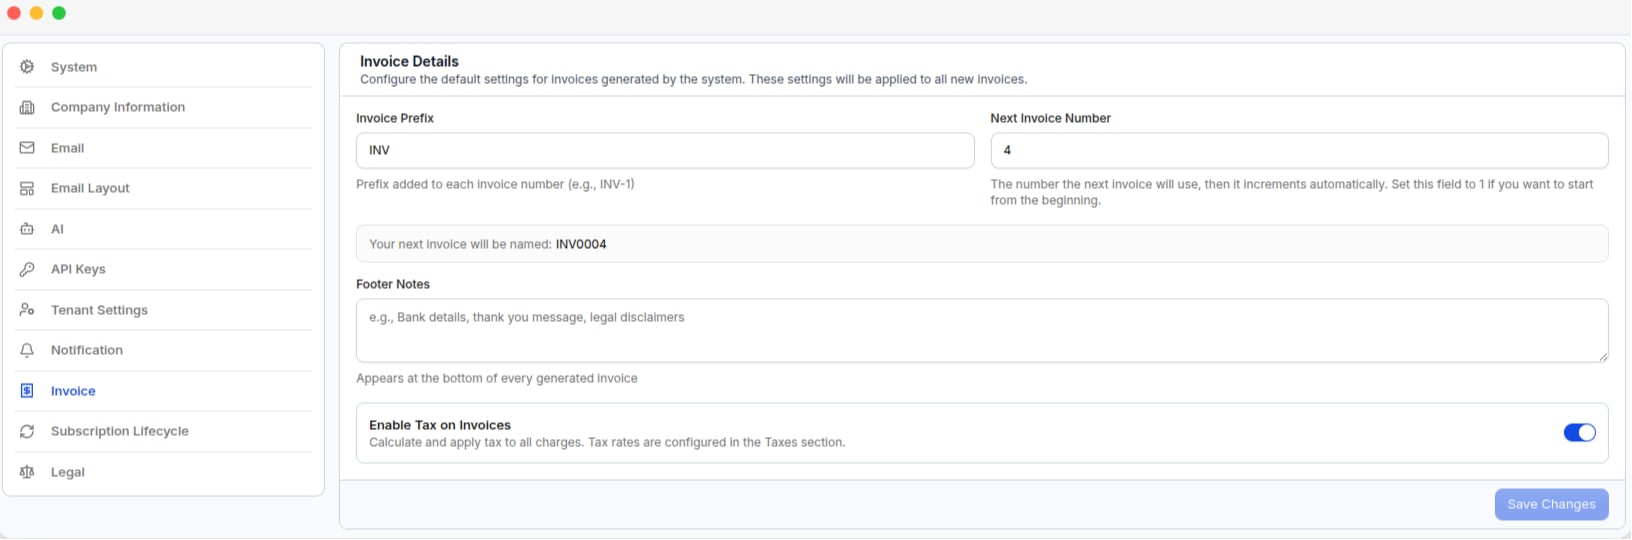
The Invoice Details settings page, with the invoice prefix, next invoice number, footer notes, and the tax toggle
Invoice Prefix
Set the prefix that should be added to every invoice number. For example, if the prefix is set toINV-, the invoice number will start with 0001, giving INV-0001.
Changing the prefix affects future invoices only.
Footer Notes
Add notes that should appear at the bottom of every invoice. You can use this for:- Bank details
- Payment instructions
- Thank-you messages
- Legal information
- Other billing notes
Tax on Invoices
Enable Tax on Invoices when you want tax to be added to tenant invoices. When this option is enabled, the tax configured under Taxes can be applied to invoices.A tax is applied only when Tax on Invoices is enabled and the tax is active.
Taxes
Use the Taxes section to add the tax rates that can be applied to tenant invoices.Add a tax
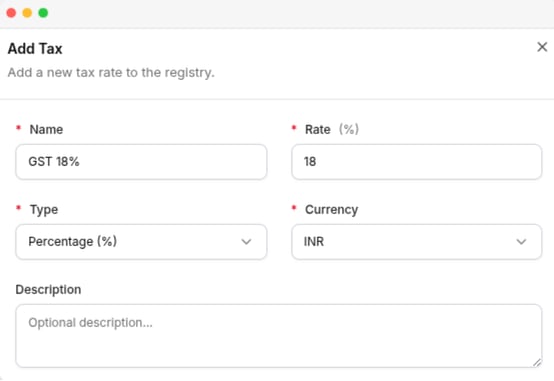
The Add Tax panel, with the name, rate, type, currency, and description fields
After adding the tax, make sure Tax on Invoices is enabled in Invoice Settings if you want the tax to be included in invoices.
Tax is calculated when an invoice is created. The tax amount on that invoice does not change later.If the tax rate is changed, the new rate applies only to future invoices. Existing invoices keep the original tax rate.
How payments are settled
The platform does not hold your tenants’ payments.
- Online gateways
- Shopify Billing
- Bank Transfer
For Razorpay, PayPal, Tap Payments, and Paymob, you use your own gateway account and credentials. Tenant payments are processed through your gateway account.The payment is added to the billing history and linked to the related invoice.
Review billing records
Once tenants start buying plans, their billing activity appears under Sales. Each area has its own page.Subscriptions
Each tenant’s current plan and subscription status.
Invoices & payments
Invoices issued to tenants and their payment history, including failed payments.
Offline payments
Payment requests from tenants who paid by bank transfer. Approve or reject each request.
Coupons
Discount codes tenants can use when paying for a plan.